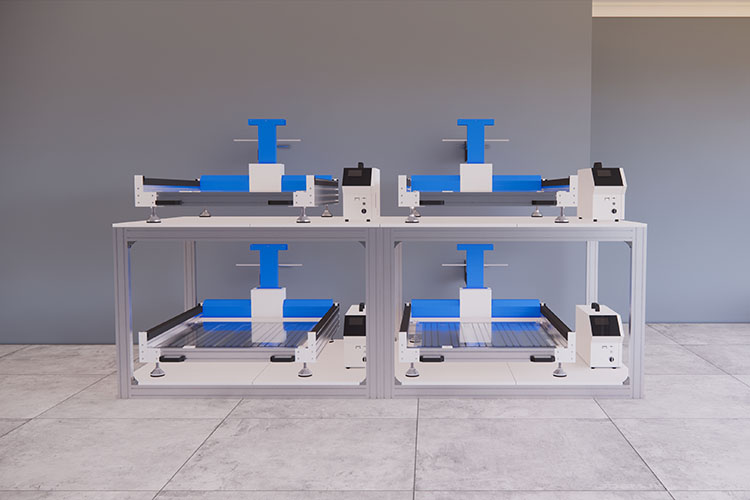
Use 3D printer shelf appropriately if you have it. Iroga’s 3D printer shelf is made up of two parts, aluminium alloy frame and plywood countertop. It is 1497mm wide, 1305mm deep, and 998mm high after being assembled, with two layers to store 3D signage printers or other equipments if you like. It is flat packaged (disassembled) during the shipment to save the precious container space, and it is assembled during the printing to save the precious workshop space. This design originated from Iroga’s smart designers. The main purpose of this double layer shelf is to save the precious space of workshop, especially in the big cities where the land and houses are very expensive. Meanwhile, it will be more convenient to operate the machines, because you just need to stay at the same place to operate two machines at the same time, instead of moving back and forth to operate two machines. How to use 3D printer shelf appropriately? This is important.
How to Use 3D Printer Shelf Appropriately?
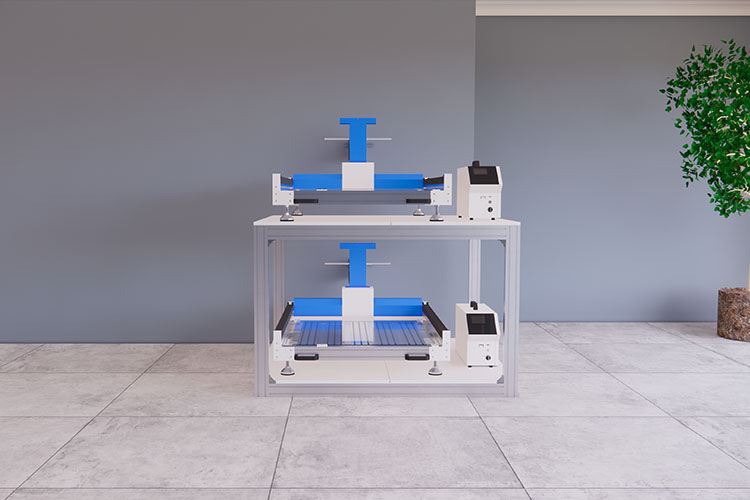
If you have one set of 3D printer shelf and two sets of 3D signage printers (MITO-80), then of course you can arrange one 3D signage printer at the top layer and another 3D signage printer at the bottom layer. In this case, two sets of 3D signage printers occupy one place only, it helps you save the space if the workshop is not too big. Meanwhile, it helps you operate the 3D signage printers more conveniently because they are just at the same place so that you don’t have to walk here and there.
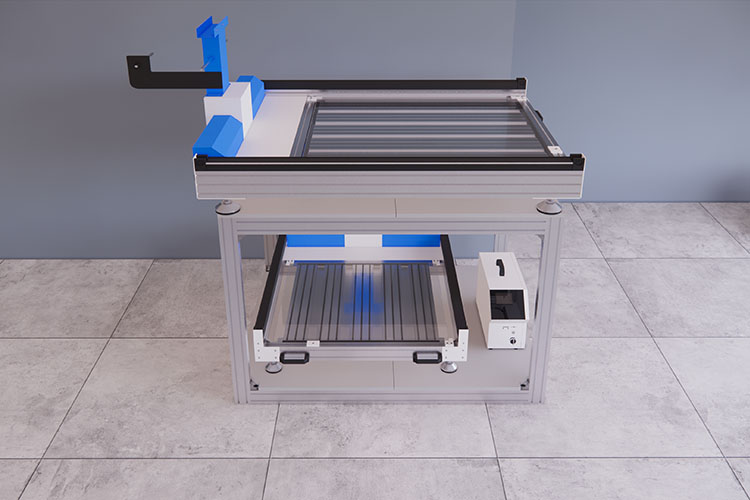
If you still have one set of 3D printer shelf and two sets of 3D signage printers, but they are one set of MITO-80 and one set of MITO-120 which is much bigger than MITO-80, don’t worry, you can arrange MITO-120 at the top layer and arrange MITO-80 at the bottom layer. However, you can’t arrange MITO-120 at the bottom layer, because the space of bottom layer is not big enough for MITO-120. Anyway, in this case, there is no room for the printer case at the top layer, as MITO-120 occupies the entire top layer completely. As a result, you have to put the printer case beside the 3D printer shelf, on a stool or on a chair, etc. However, there is a perfect way to solve this problem, let’s continue to read the paragraph below.
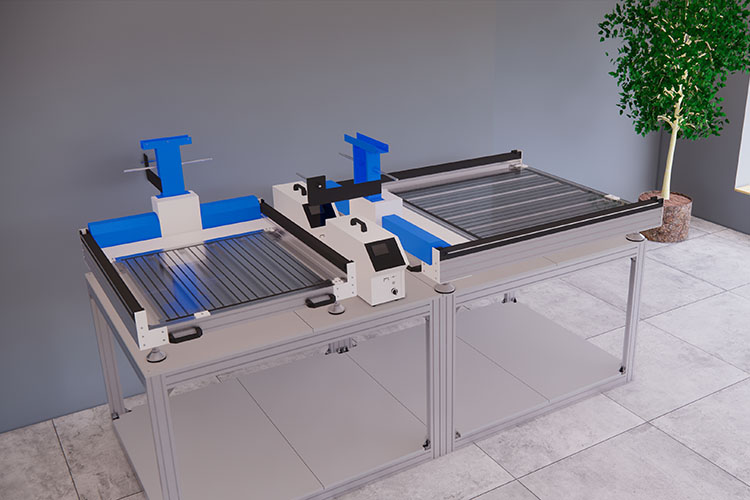
If you have two sets of 3D printer shelves, locate the two sets side by side together, then you can solve the problem of the printer case of MITO-120 in a perfect way, just put the printer case of MITO-120 at the top layer as well, so right now both printer cases are at the top layer, beside MITO-80.
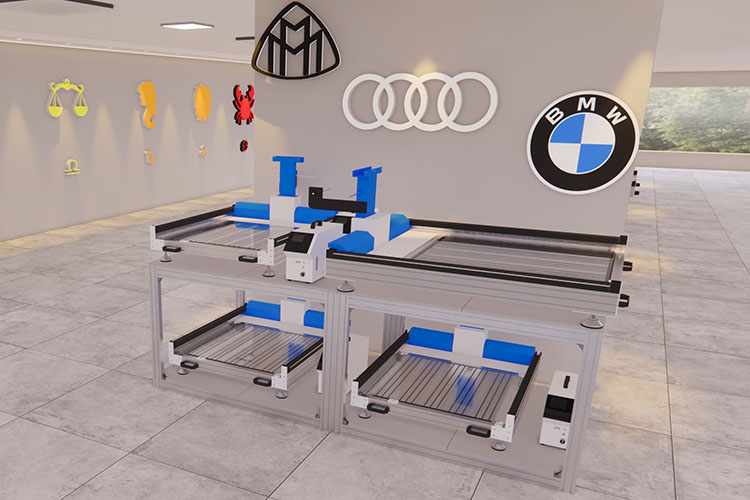
If you prefer MITO-80 better than MITO-120, no problem, you can arrange 4 sets of MITO-80 as you want, with 2 sets each at the top layer and at the bottom layer. After all, MITO-80 is cheaper than MITO-120, and in most cases, you don’t need to print the 3D signages as big as 1200mm.
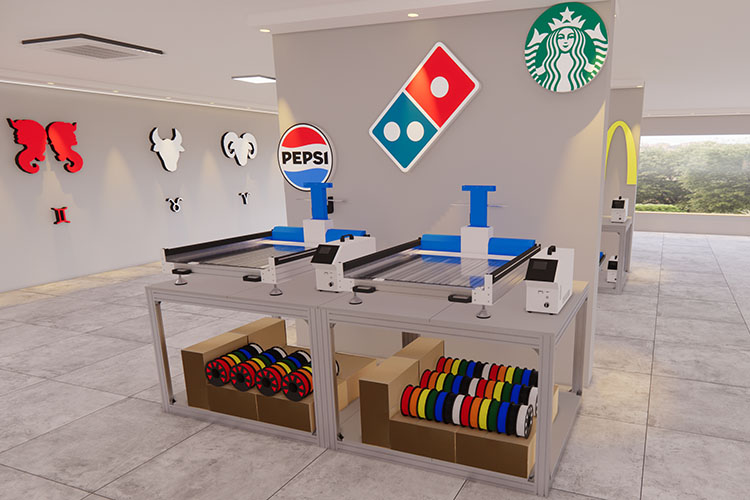
Some clients say, I like 2 sets of 3D printer shelves, but I want 2 sets of MITO-80 only to test the quality first. So in this case, you can prepare some 3D printing filaments at the bottom layer, it will be really convenient to get the 3D printing filaments when you need them. Remember, never waste the precious space of the 3D printer shelf.
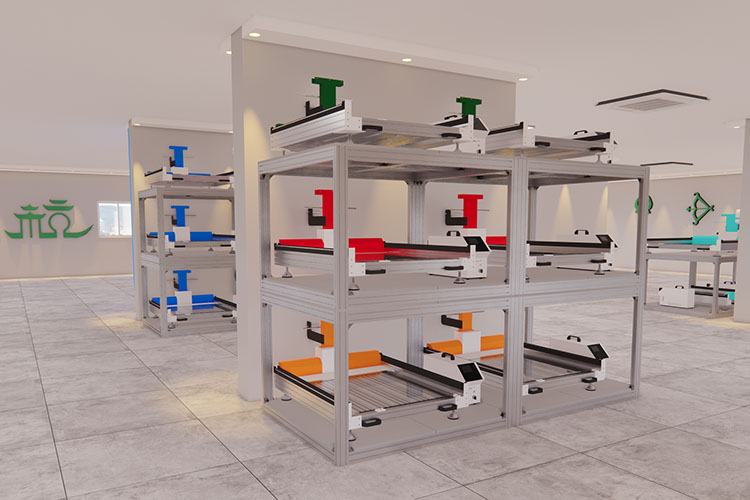
Last but not least, if your dream is to have a large scale of 3D signage printers to achieve the goal of mass production, such as a 3D printing farm, you can consider the three layer printer shelf. This is easy to get with the same printer shelf, put the printer shelf above another printer shelf, then you’ll get three layers. In this case, it allows you to arrange 3 sets of signage printers in the same place, top layer, middle layer, and bottom layer, it helps you make the best use of the precious workshop space.